6 Tips to Add Depth to Landscape Photos
We see in 3D, whereas cameras only see the world in two dimensions, which is why when you take a photo the result can be disappointing — especially landscape photography. There are some tips and tricks to create a 3D look and add more depth to your landscape photographs.
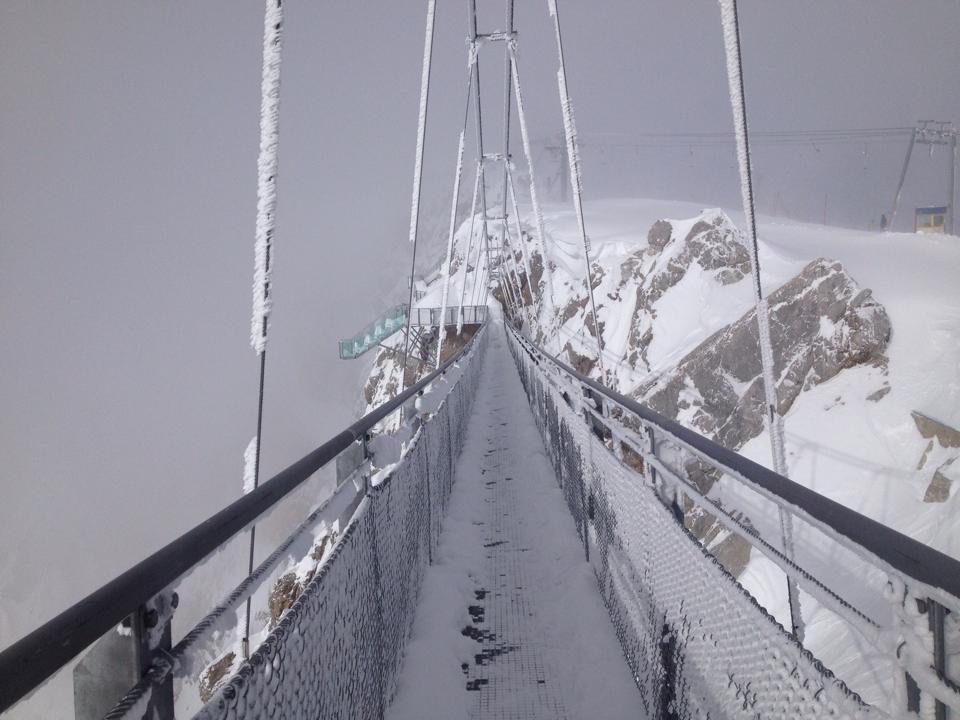
1. Converging lines
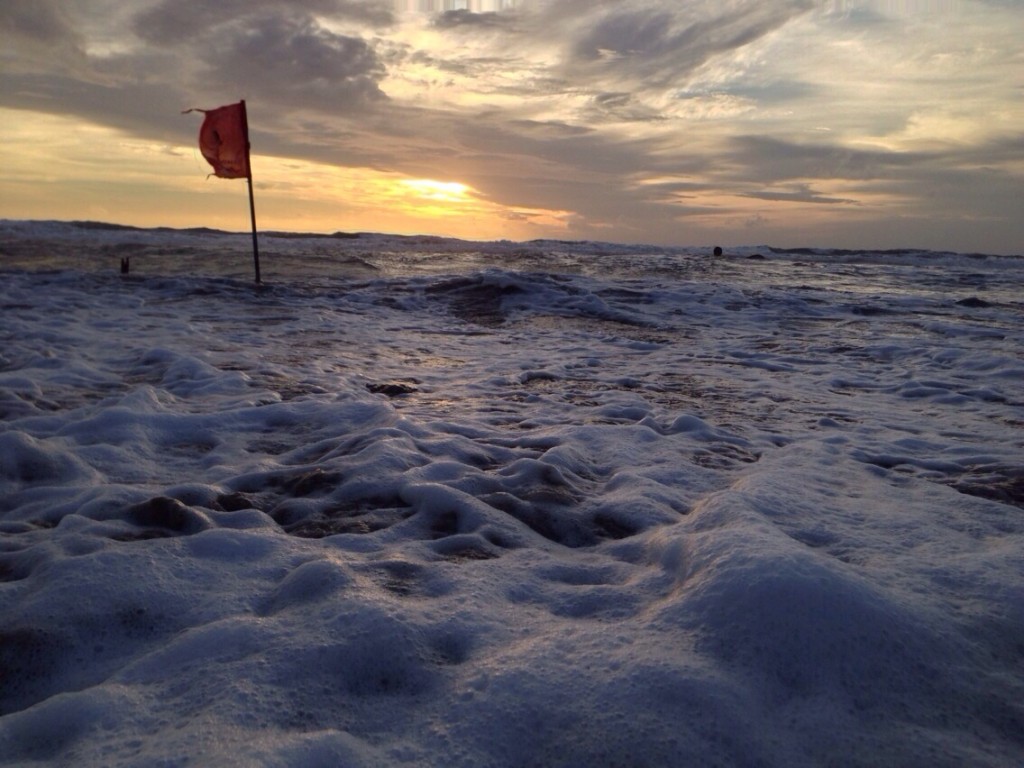
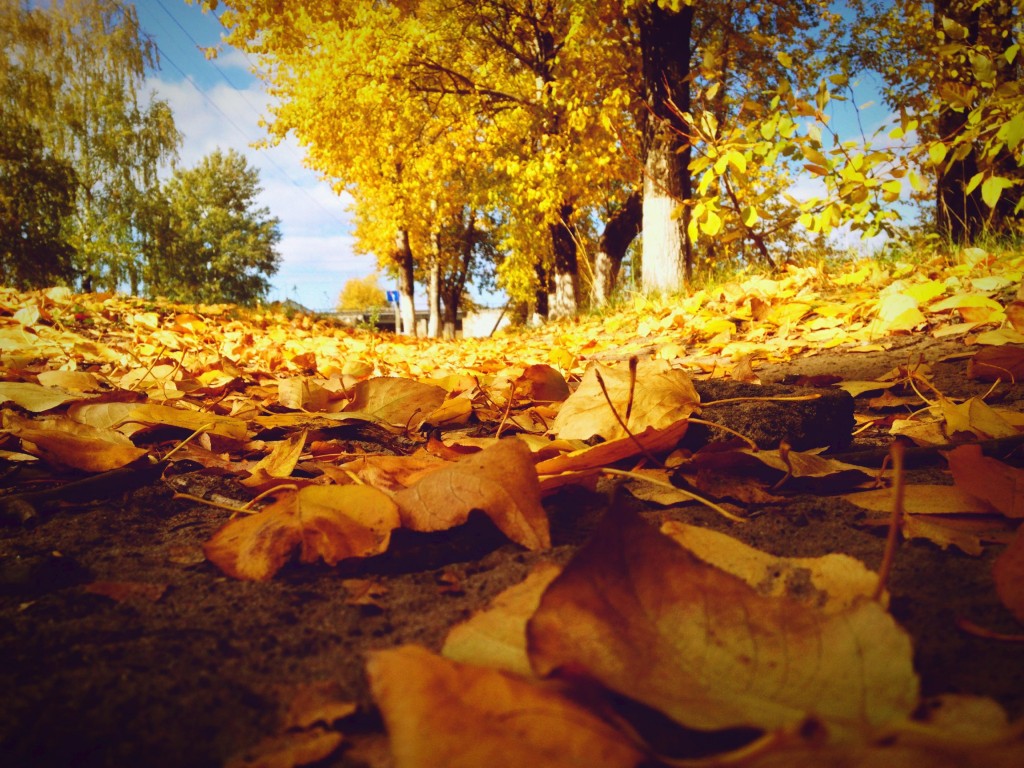
In reality these lines are parallel, but the further they are from the camera lens the closer they appear to become, until the point where they appear to meet at a vanishing point. The appearance of converging lines in photos draws the eye through the frame, creating the illusion of depth. Getting down low and using a wide-angle lens will emphasis this effect further!
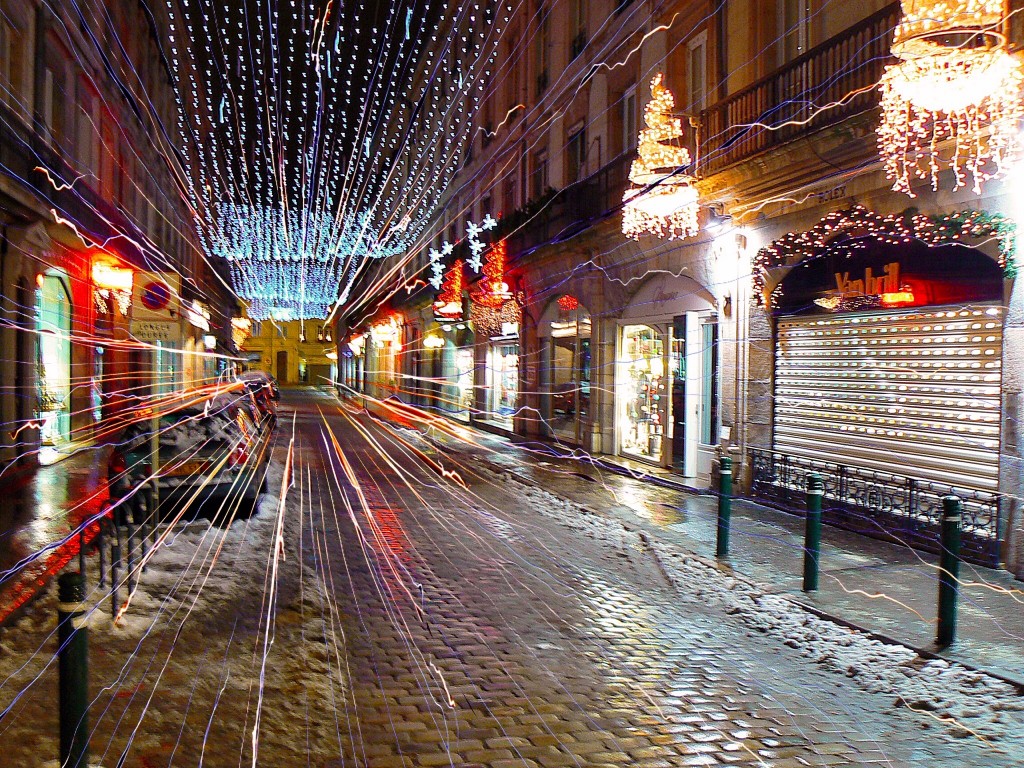 Scoopshooter Christophe Marlin
 Scoopshooter SaRi
2. Diminishing perspective
The further objects are placed from the camera the smaller they appear, this is very effective when photographing a row of the same/similar objects. Your brain will work out that these objects are the same size, while adding a sense of depth to the photo. This technique works very well when applied to street photography and urban environments.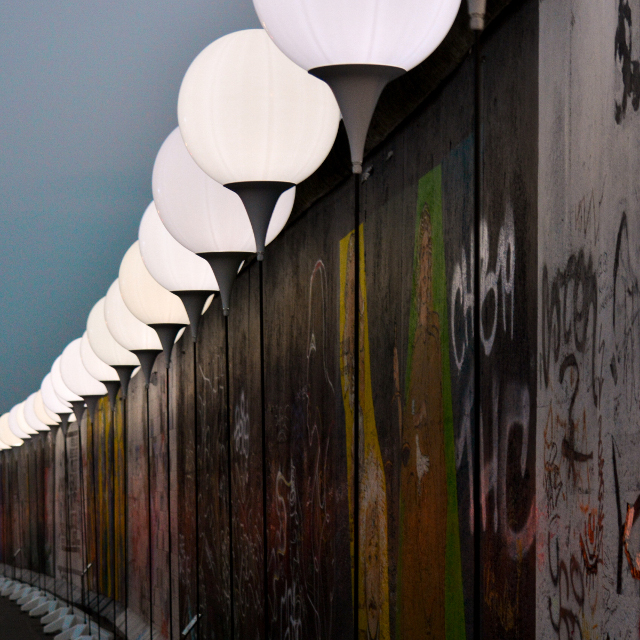 Scoopshooter Martjin Kolkman
3. Framing
Creating a frame within a frame, such as a doorway or window in the foreground, guides the viewer to the focal point of the photograph and also adds depth.
In addition, Shooting landscapes vertically in portrait format can add interest, you don’t just look from side to side but up and down when taking in a view, this technique works especially well with streetscapes.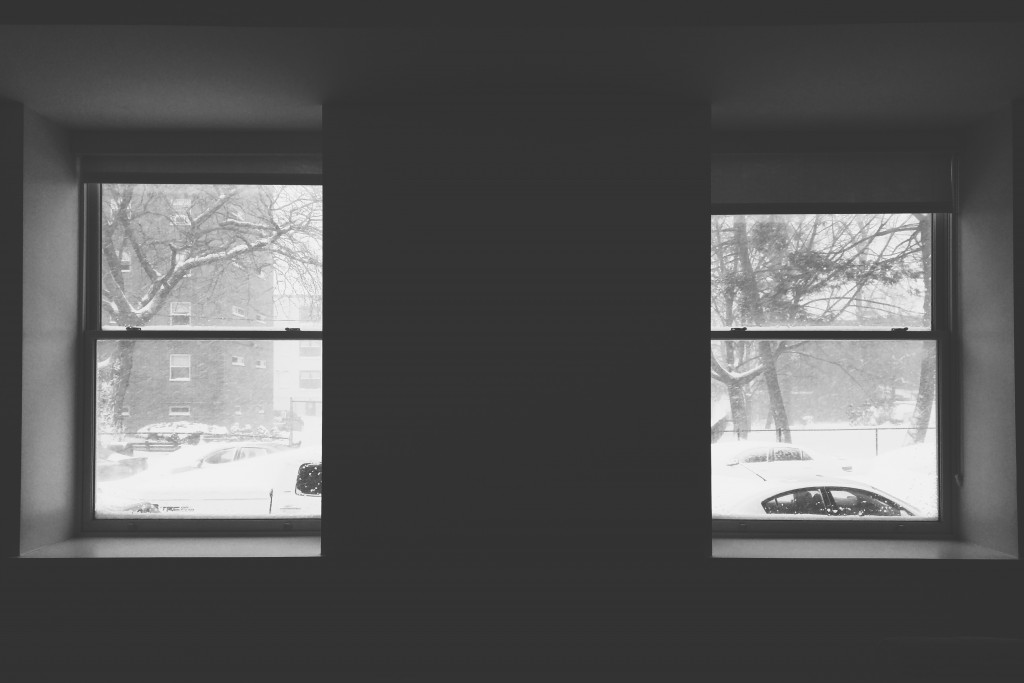 Scoopshooter Alex Fonseca
4. Tunnel effect
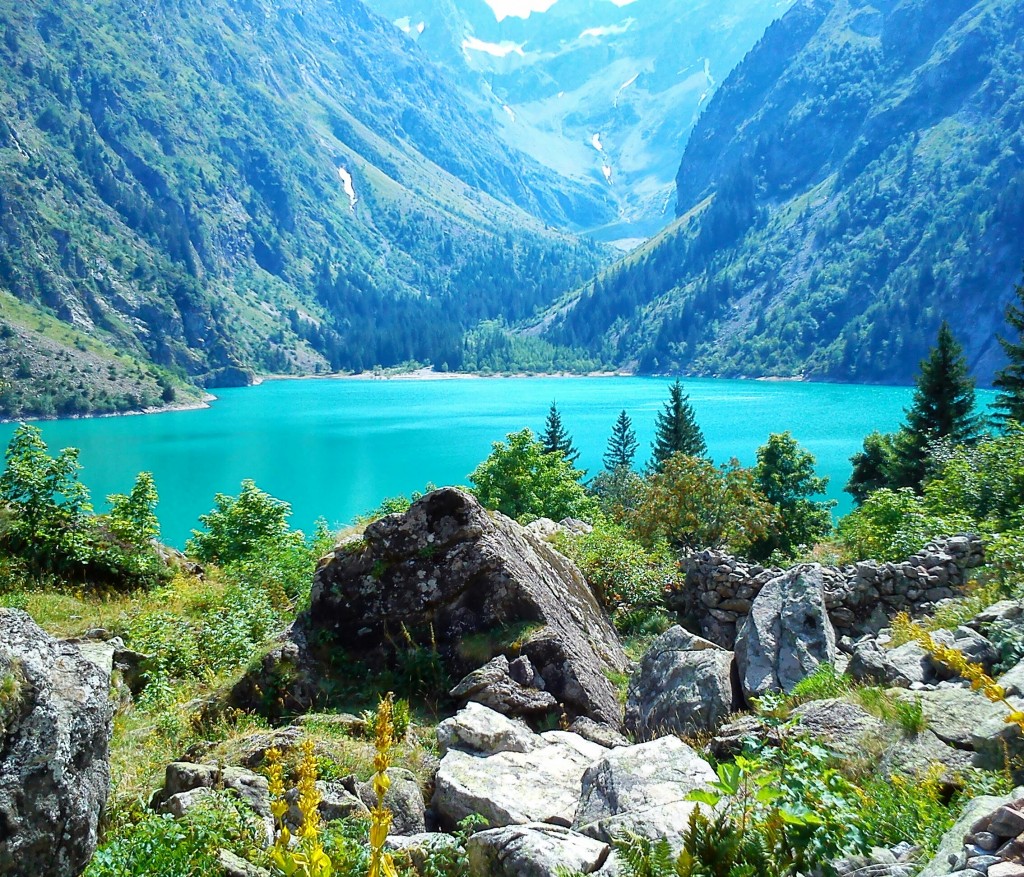
Create a composition that leads the viewer through the photograph, starting with the foreground and guiding the eye through the photo up to the top of the frame, with a focal point — aka the tunnel effect. Many people forget about the foreground when taking landscape shots, avoid zooming in and filling the frame with the object as this will create a flat photo. Remember, a photo needs a foreground a mid-ground and a background.
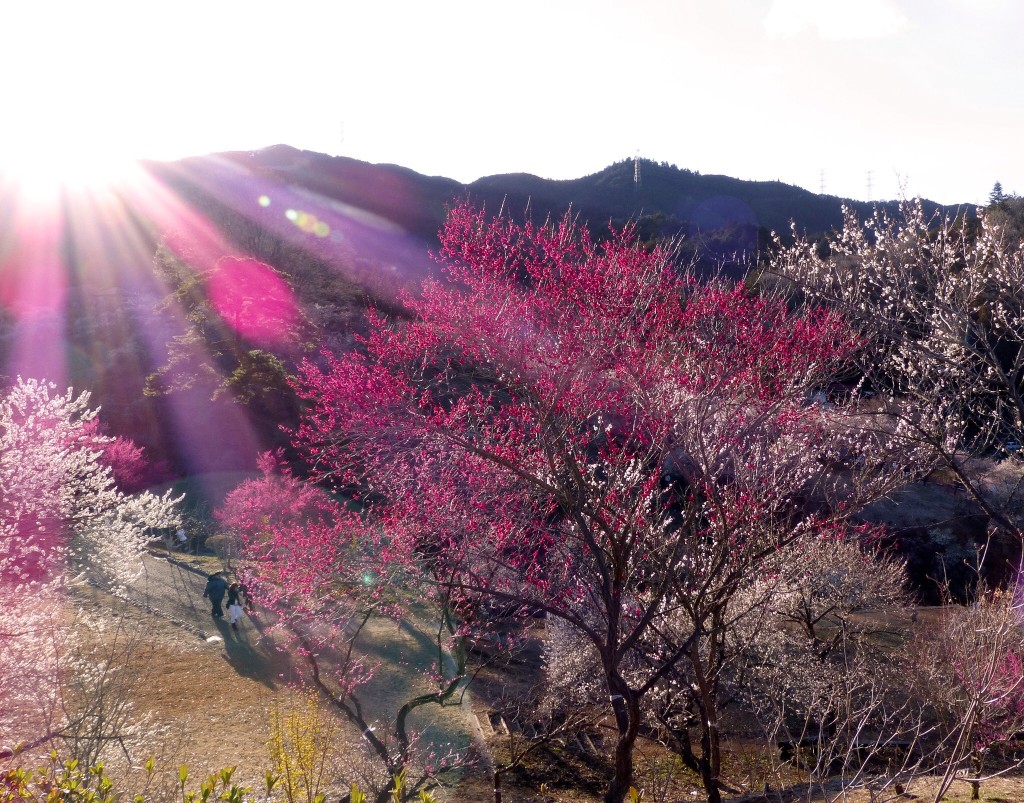
5. Lighting
Lighting is a useful tool for creating a third dimension, this is because your eyes are naturally drawn to light. A good trick is to make sure your subject should is well lit and positioned in the top third of the frame. By placing the main subject in the background, deep in the frame, a sense of depth is created. Easy.
 Scoopshooter Christophe Marlin
6. Golden hour
The hour after sunrise and the hour before sunset are without doubt the two best hours of the day to take photos! However, if you’re close to the equator you won’t get the full hour so make sure you have your camera at the ready. The lighting during golden hours is soft, in a way that lenses and filters can’t re-create. This lighting removes any harsh shadows or highlights from your photo. Composition is still key, so remember the rule of thirds, positioning focal points in the top third of the frame and use the tunnel effect technique.
However, dramatic lighting and shadows can add drama and interest to landscapes. Clouds and fog can even add depth to your photos if you take you time to position yourself and set up the composition of the photo. The rules are there to be bent and broken. Submit your #landscape photos to the Scoopshot app!
