How To Take Long Exposure Shots With Your Phone
Long exposure photos look pretty fancy pants, with digital SLRs often used to create this effect. However, sometimes this type of photo can happen by accident, the result can be disastrous or a pleasant surprise that fools you into thinking you have superior photography skills. And yes these photos are arty-farty impressive, but shots like this are within your reach — just grab your smartphone!
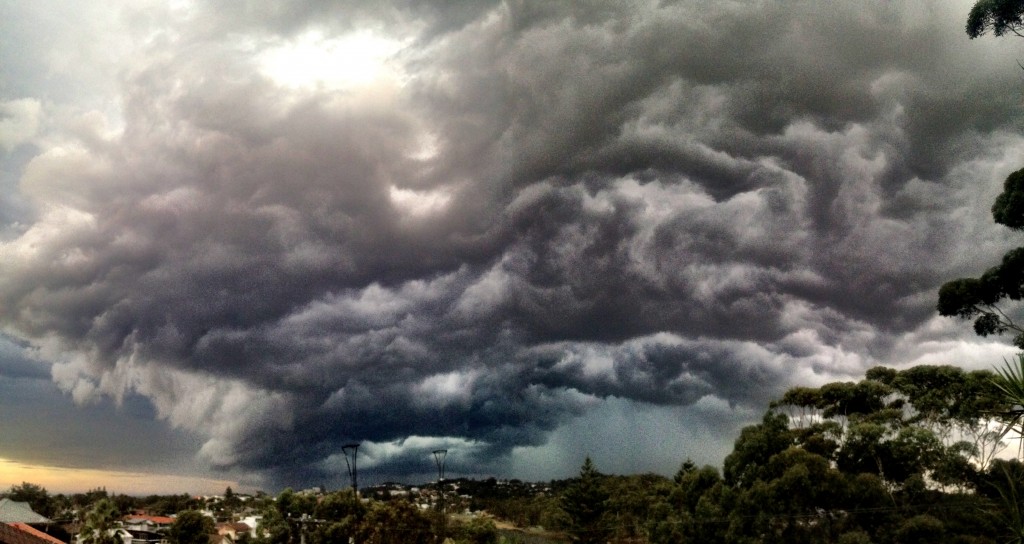
 Scoopshooter: Michael Sparrow
Usually action shots require a fast shutter speed to freeze the action, while a long exposure shot aims to do the opposite. Not so relevant for the budding sports photographer, this technique is great for creative photos, moving water and street photography, especially at night.
Find a location
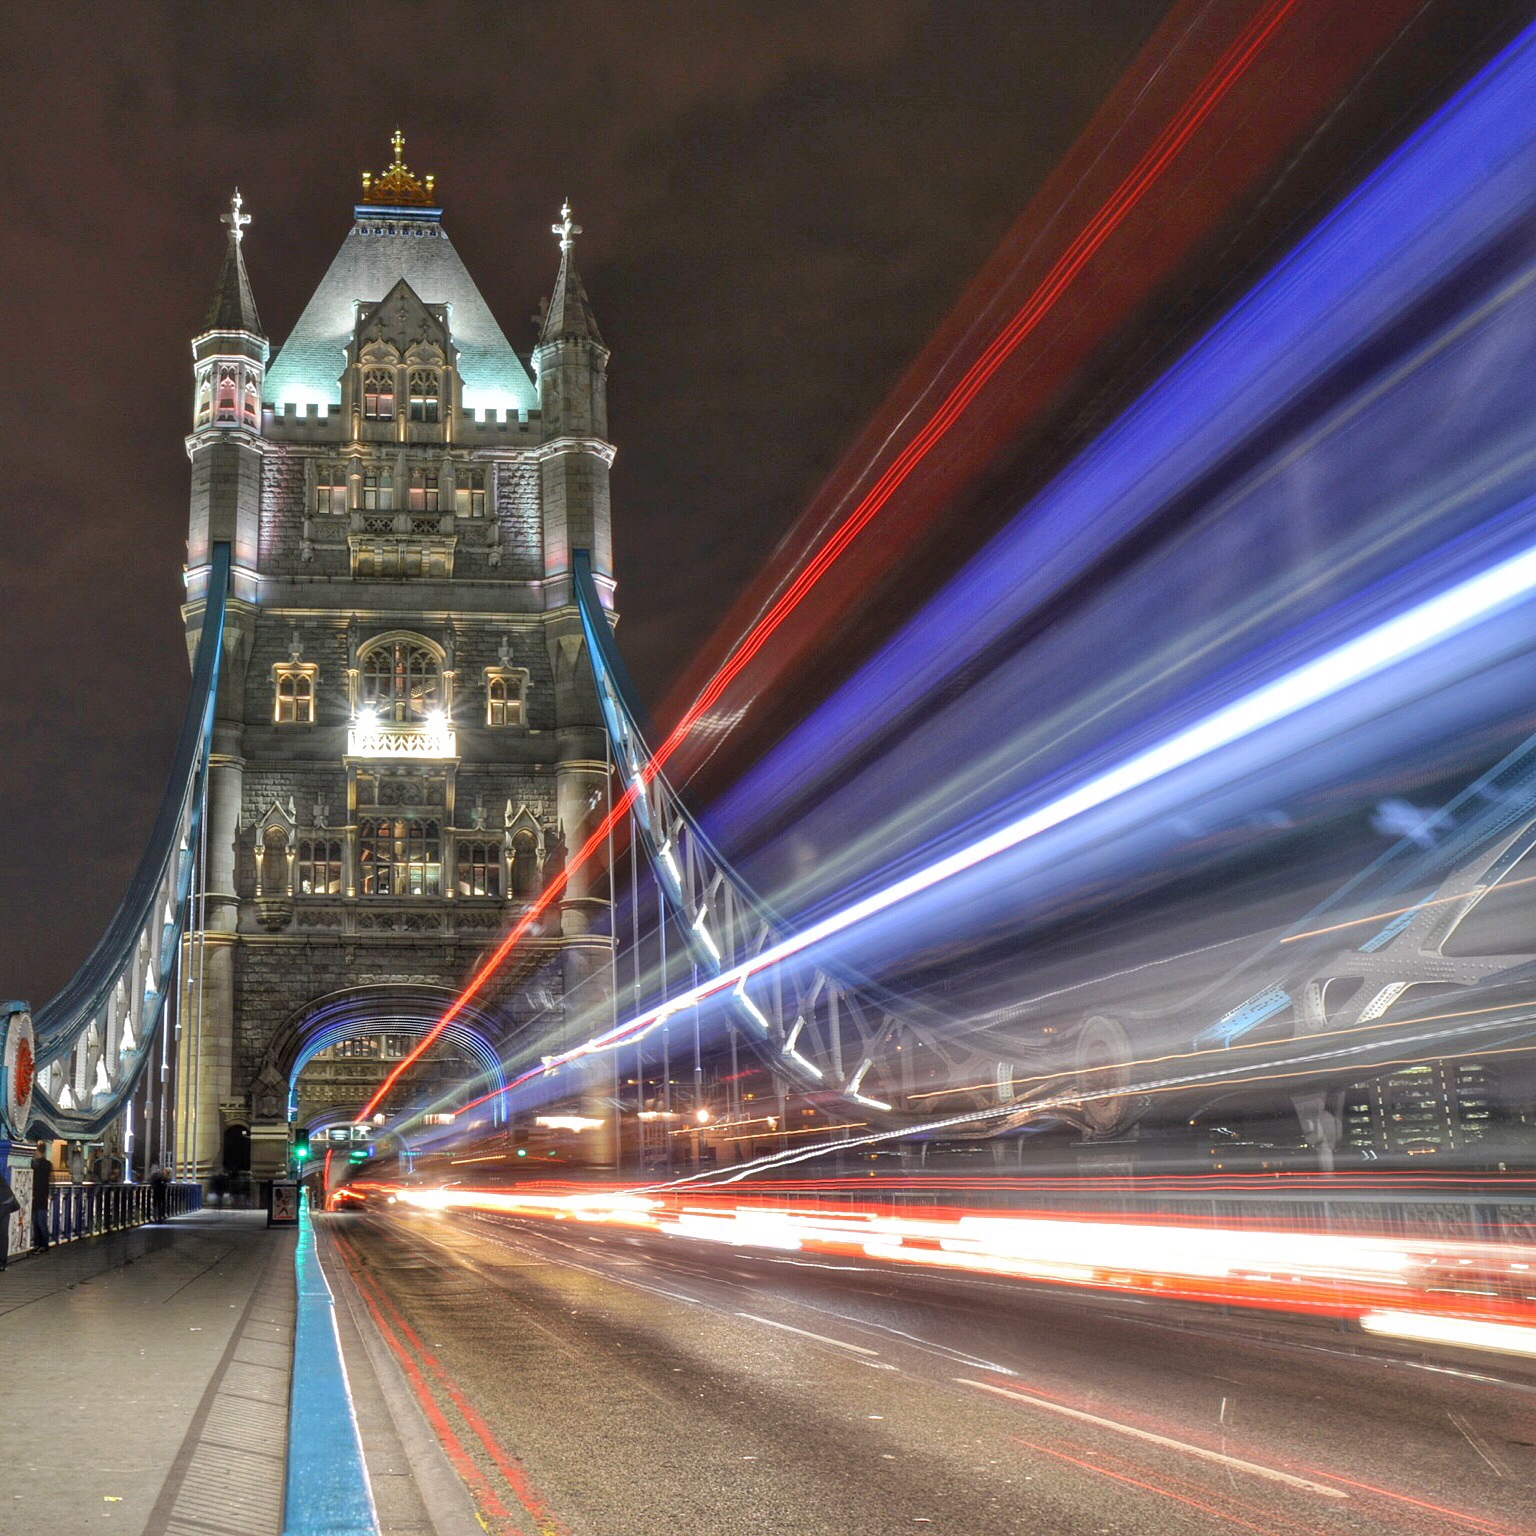
Long exposure shots work best when the photo contains both moving and still objects. Obvious subjects include transport and people, but moving clouds can also create more subtle, yet dramatic photos. A good subject to start off with is car light trails. You can focus on the headlights or the taillights, but bear in mind headlights are a lot brighter than taillights so you’ll need to play with the settings if your aim is to capture both in one shot.
 Scoopshooter: Dennis Gilmore
Setting up
You’ll need a tripod, a sturdy one. The lens of the camera stays open for longer in order to capture a long exposure shot, this means you’ll need to keep the camera steady for a good few seconds. This is easier than it sounds. Even a small wobble can ruin your shot. The solution is to use a tripod! Set up your tripod somewhere where it won’t get knocked by a passerby and, it may sound obvious, avoid a surface that is likely to vibrate (this can be a issue when photographing cityscapes and transport). Wind can also be a problem, position yourself somewhere where you’re shielded from the elements. The last thing you want is a blurry photo!
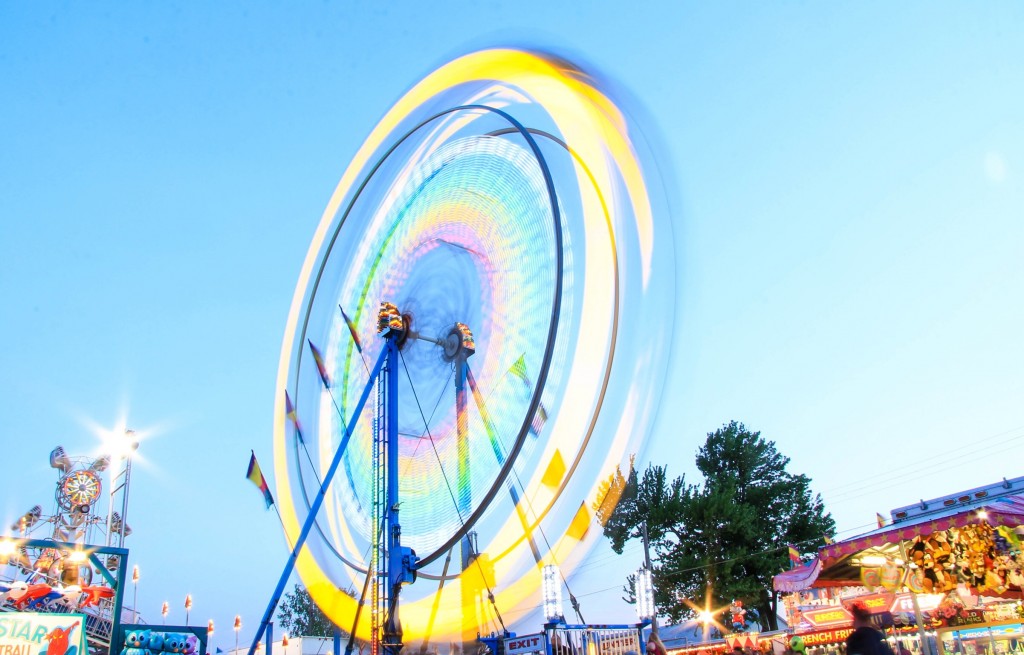
 Scoopshoooter: Ryan Curcio
Taking the shot
Wobbles and movement of any kind are to be avoided, this is why you need the tripod (there is no getting away from it, you may look like a plonker carrying it around but you need that tripod). So you have your tripod, you’re all set up, you’ve framed the perfect photo now you need to hit the button. Umm… problem. The phone is going to move, it’s inevitable. In the world of DSLRs there is a technical solution for this, but fear not, if you have an iPhone you can use your Apple earphones as a shutter release. Plug in the earphones and and use the volume up button to take the photo without needed to touch the phone — smart hey! Minus the earphones, don’t tap the screen too hard and hope for the best.
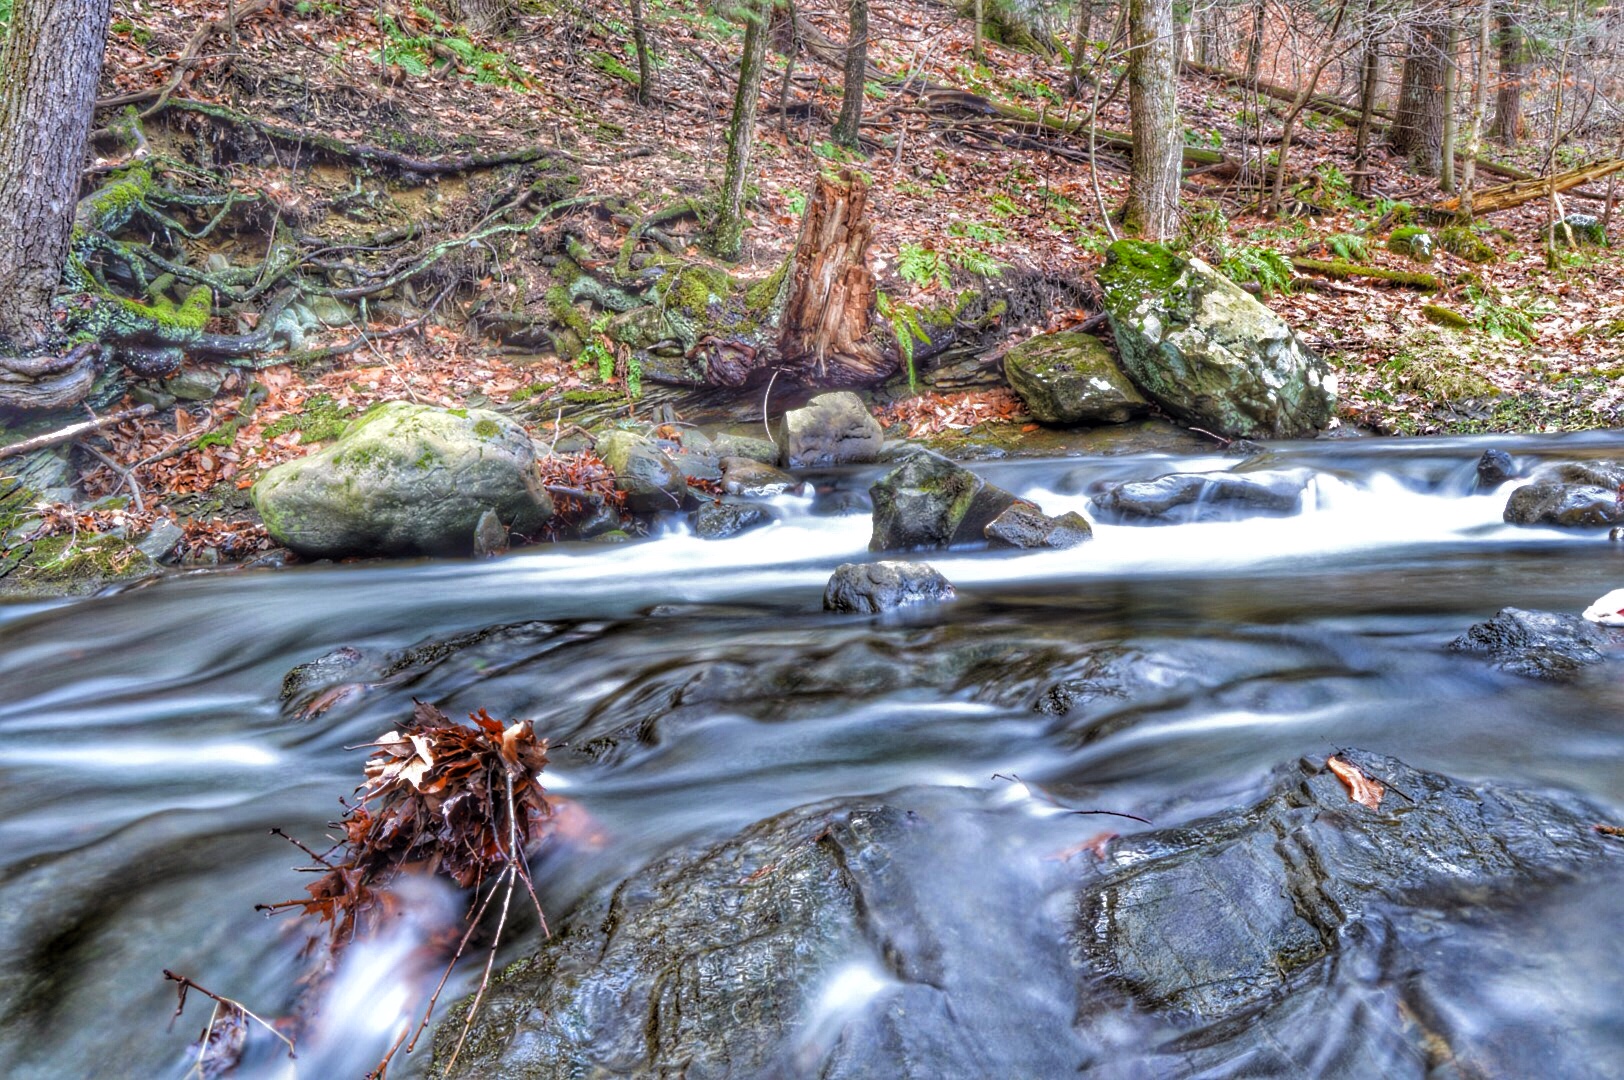
 Scoopshooter: Wilder Quinn
Settings
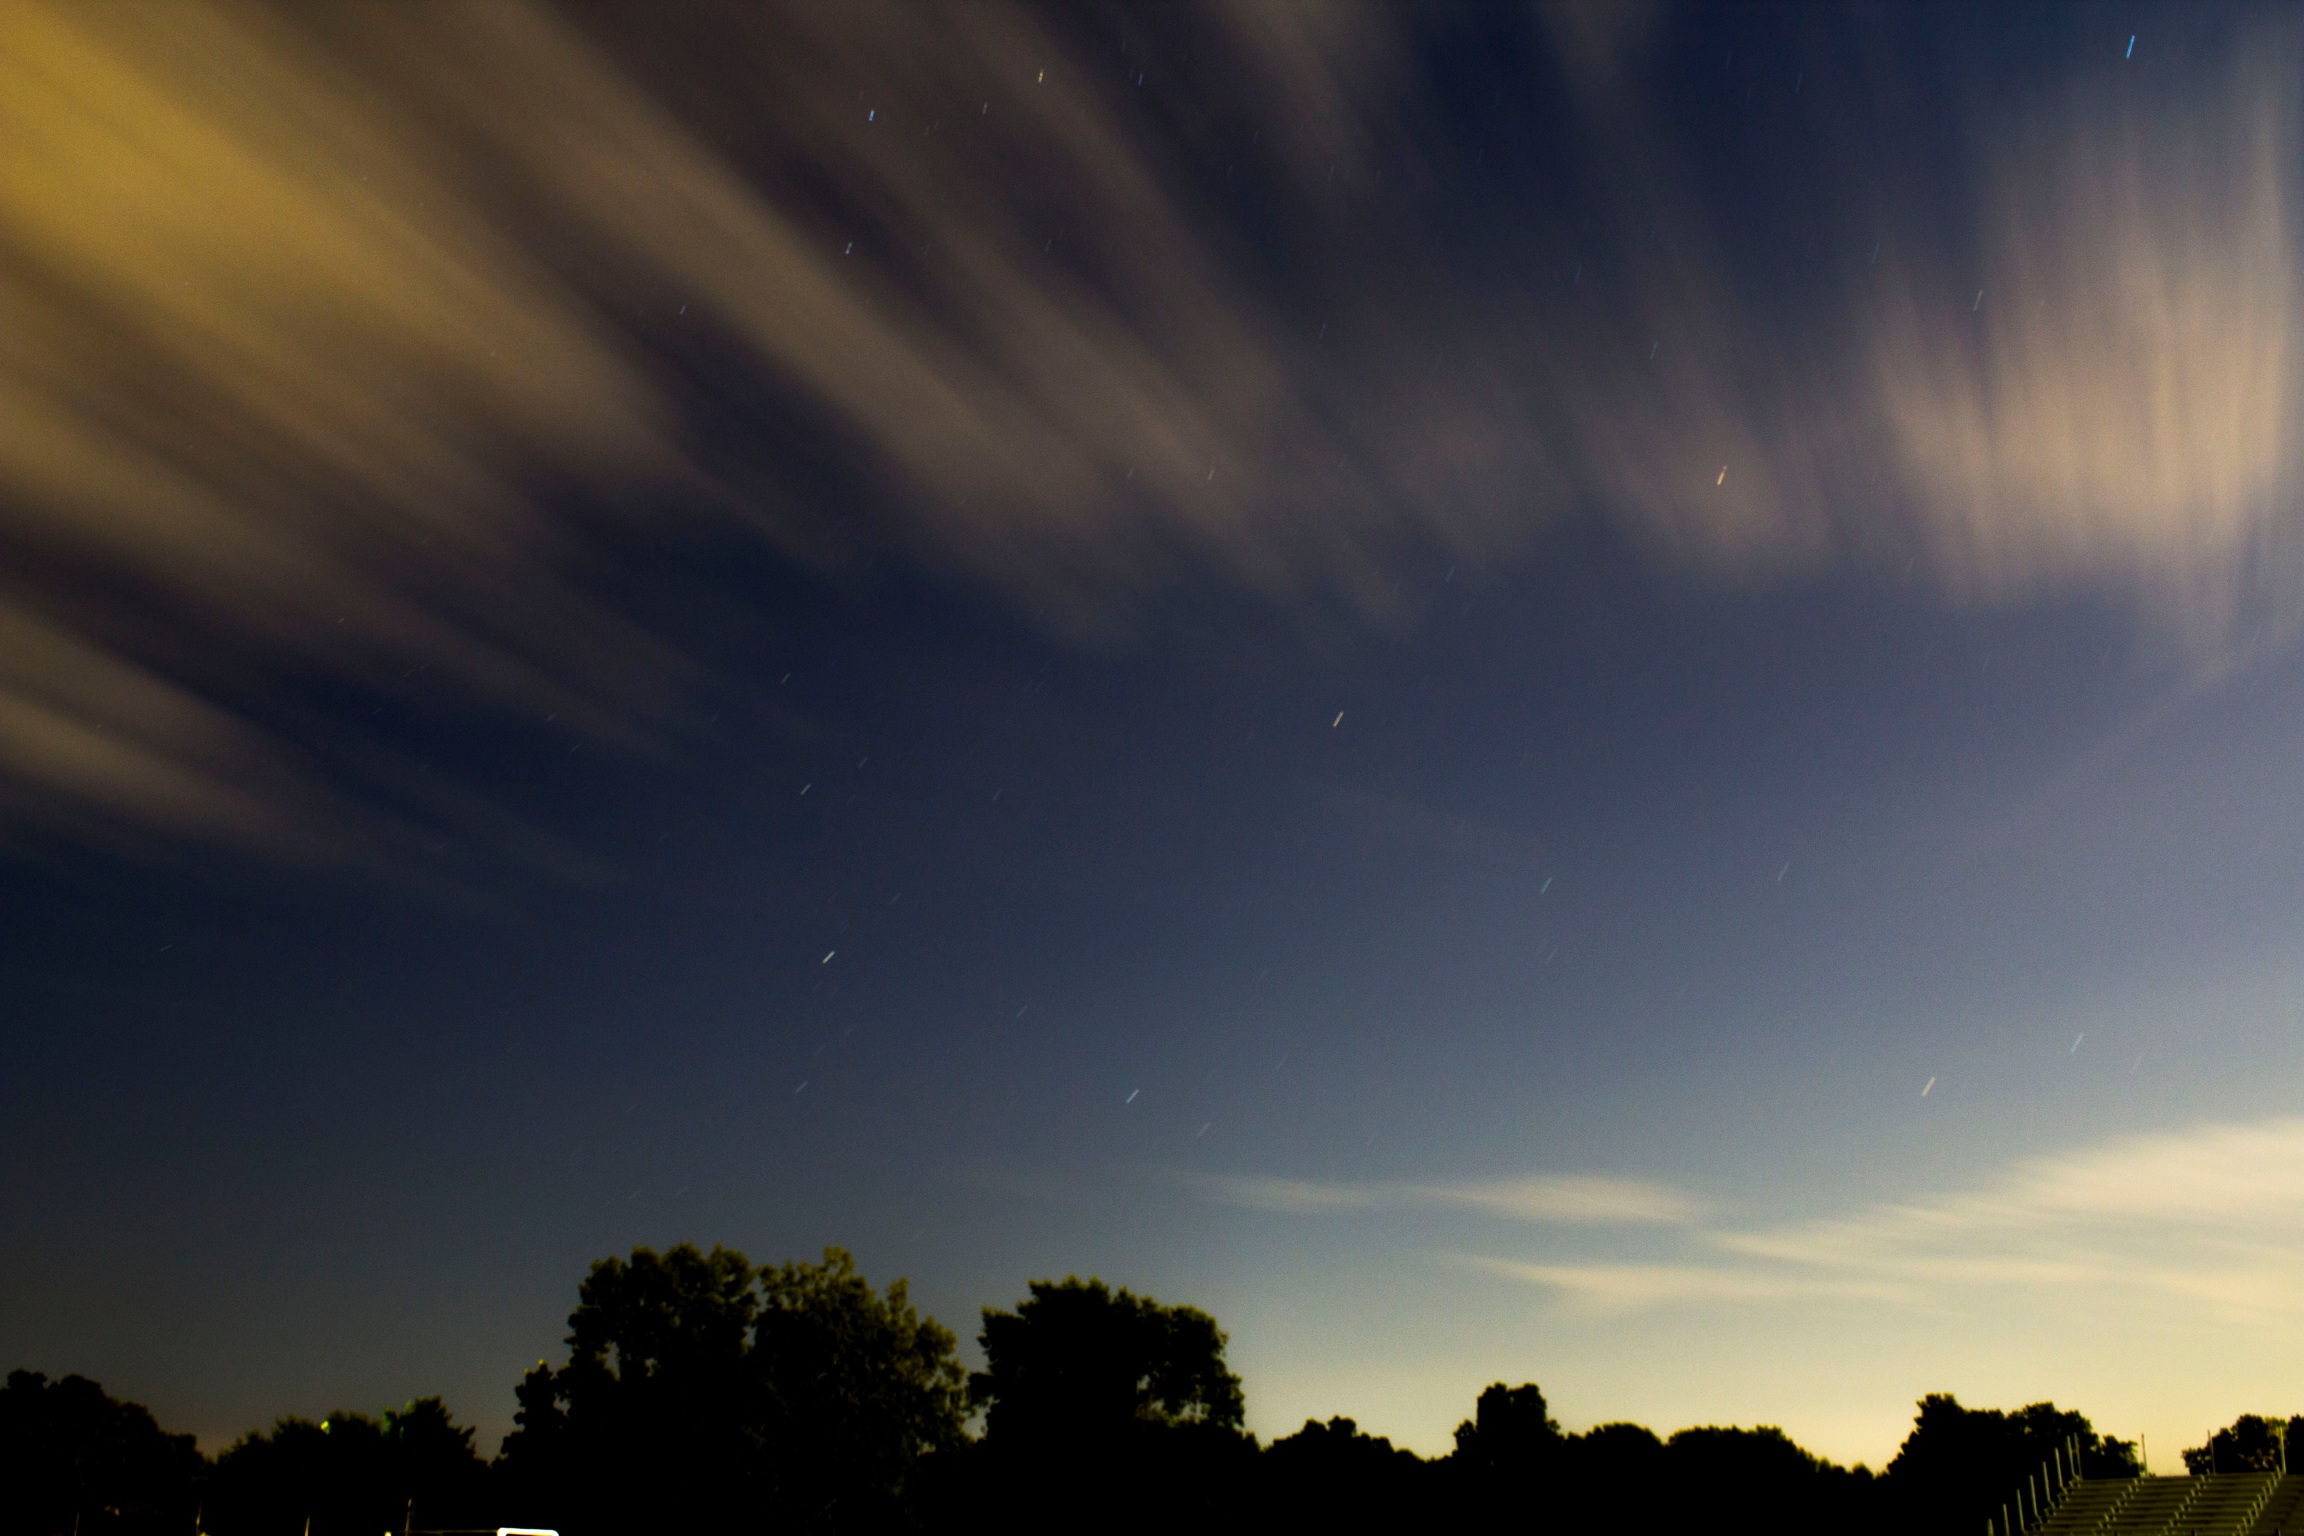
The goal is to slow down the shutter speed to increase the amount of time that the sensor is exposed to light, this is how movement is captured in the photo. The shutter speed will be determined by the speed your subjects are travelling at (a cloud will need a slower shutter speed than a bus, obvs.), and how much ambient light is present. A photo of traffic, such as car headlights, requires the shutter to be open for about two or three seconds, whereas clouds will need the shutter to be open for around 20 seconds to capture movement. Bright lights produce photos with high contrasts, for this reason they work well in black and white, so it is worth experimenting.
Generally, smartphones aren’t designed for long exposure photography because the shutter can’t stay open for very long. But, of course, there’s an app for that. By digitally combining multiple exposures of the same photo Slow Shutter Cam helps you work miracles.
Now you need to set the exposure settings — this isn’t as difficult as it sounds. In the iPhone you can select Capture Mode, Capture Duration and Blur Strength. If you’re shooting during the day and light conditions are good, select Motion Blur in the Capture Mode. The setting depends on the location, the subject and the look you are going for, you will need to experiment with the settings. As a starting point, go with medium or high blur and a capture duration/shutter speed between 4 and 20 seconds. Too long and your photo will be a blurred mess, too short and it will look like a bog standard photo. There’s no magic setting – experiment!
 Scoopshooter: Aimee Cosentino
Submit your long exposure photos to the Scoopshoot store using the free app. Upload your photo, set the price and include the #longexposure to show us your photo skills and market your photos for sale.